


As far as we know the route for the Kang Yatze II seems to be quite accessible. However, reaching the top of Kang Yatze I is another and especially rather unknown story. Only limited information can be found on the internet, so we tried to contact the persons that did a summit attempt before. Two Indians, Jerry Poten and Karn, were kind enough to provide us with information. This page gives a description on the information we received from them.
Conditions:
July is quite early, so there will be plenty of snow towards the upper reaches.
Base Camp
There are two good spots for the base camp:
From the direction of Nimaling, you have to climb a feature and then descent until a river/stream is reached. Next to this river and between the feature and the Kang Yatze the base camp can be arranged
A couple of hundred meters above the stream there is another good spot to make base camp. It is near the glacier on the mountain and close to where the blue route starts in figure 1. It is, however, hard to get the ponies up to this spot. According to Jerry the best spot, is the first spot. The guide and pony guy will try to set up camp at Kang Yatze II. This is also a possibility, but makes it impossible to summit on the same day from the KY II base camp. It will take too much time to get to the base of the main mountain. In case you camp at KY II base camp, climb to the red-blue junction in figure 1 and follow the red or blue line, but it will still take you more time.
 Figure 1: picture made by Jerry.
Kang Yatze 2
The summit of Kang Yatze 2 can be reached by a snowy slope. No climbing is required, but only a steep hike up to the top. Figure 2 gives an impression on the hike as could be found on the internet.
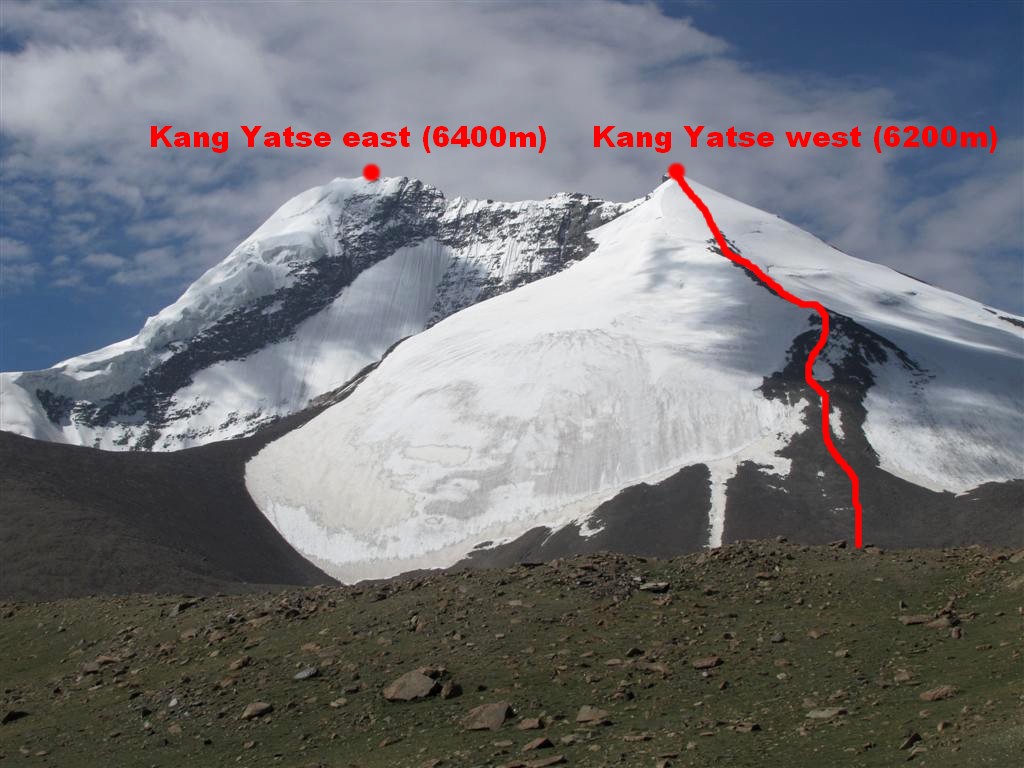 Figure 2: route to summit Kang Yatze II (source: http://peakware.com/photos.html?photo=8768)
Kang Yatze 1
From base camp, the summit can be reached in two day and half way the slope of the mountain an advanced camp should be arranged.
The route to advanced camp.
Two routes seems to be possible, one through an ice fall and the other over a steep rock slope. The first route is indicated with the blue line in figure 1, the second with the red line.
- Rock route: This route is supposed to be the easiest and goes right over the ridge.
- Ice fall route:
The ice fall has a steepness of around 45-55 degrees, with possibly some 60 degrees parts. The ice tool placement should be pretty good at most places. When climbing alpine style, one rope and three screws/tubulars should be enough, if a fixed route is desired 10 to 12 ice screws are needed.
Karn mentions that there are two ice walls, both facing the opposite direction and that they are around 60-80 degrees.
Advanced camp
Where the red and blue line meet in figure 1, the advanced camp should be set up. A couple of tents can be pitched at this place. Jerry states that he prepared a campsite in 2010.
Advanced camp to summit
The first part above high camp is not so steep, but just before the summit the terrain becomes steep. Just above advanced camp you need to climb a 50-60 degree narrow ridge like terrain for an hour or so, until you reach a plateau like area. From here the main climb starts. Figure 1 shows a generic route above this plateau, but you can decide a suitable route yourself, since conditions are different every year. Difficulty levels should be about the same on any route that you choose above the plateau.
Close to the summit the snow may be hip deep and so it will be very exhausting to climb or walk. Bringing snow stakes might be more helpful than ice screws. You might need 6 to 8 anchors.
In case of a big group, 200-300 m of fixed line just under the summit is recommended. With fixed lines prepared, you can start at 5AM on the summit day from advanced camp.
Climbing alpine style is also possible as long as you understand the importance of belaying and anchors. Alpine style in the Alps is different than alpine style in the Himalayas. You need a good strong belayer.
After 8 AM the heat unpacks the snow, so your boots will dig (hip) deep and climbing and descending will be laborious. This means that around this time you should already have started the descent. Karn had a hard time getting down and had to descend the other side of the mountain. The needed to bivvy there for the night, which was not very pleasant.
Other pictures with routes found on the internet:
 Figure 3. This route seems to indicates advanced camp on the snow plateau.(Source: http://www.moran-mountain.co.uk/moran-mountaineering/Ladakh-Kang%20Yatze.html)
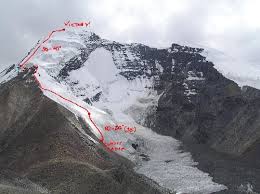 Figure 4. Another impression. (Source: http://peakware.com/photos.html?photo=8768)
Finally some more close up pictures of the mountain:
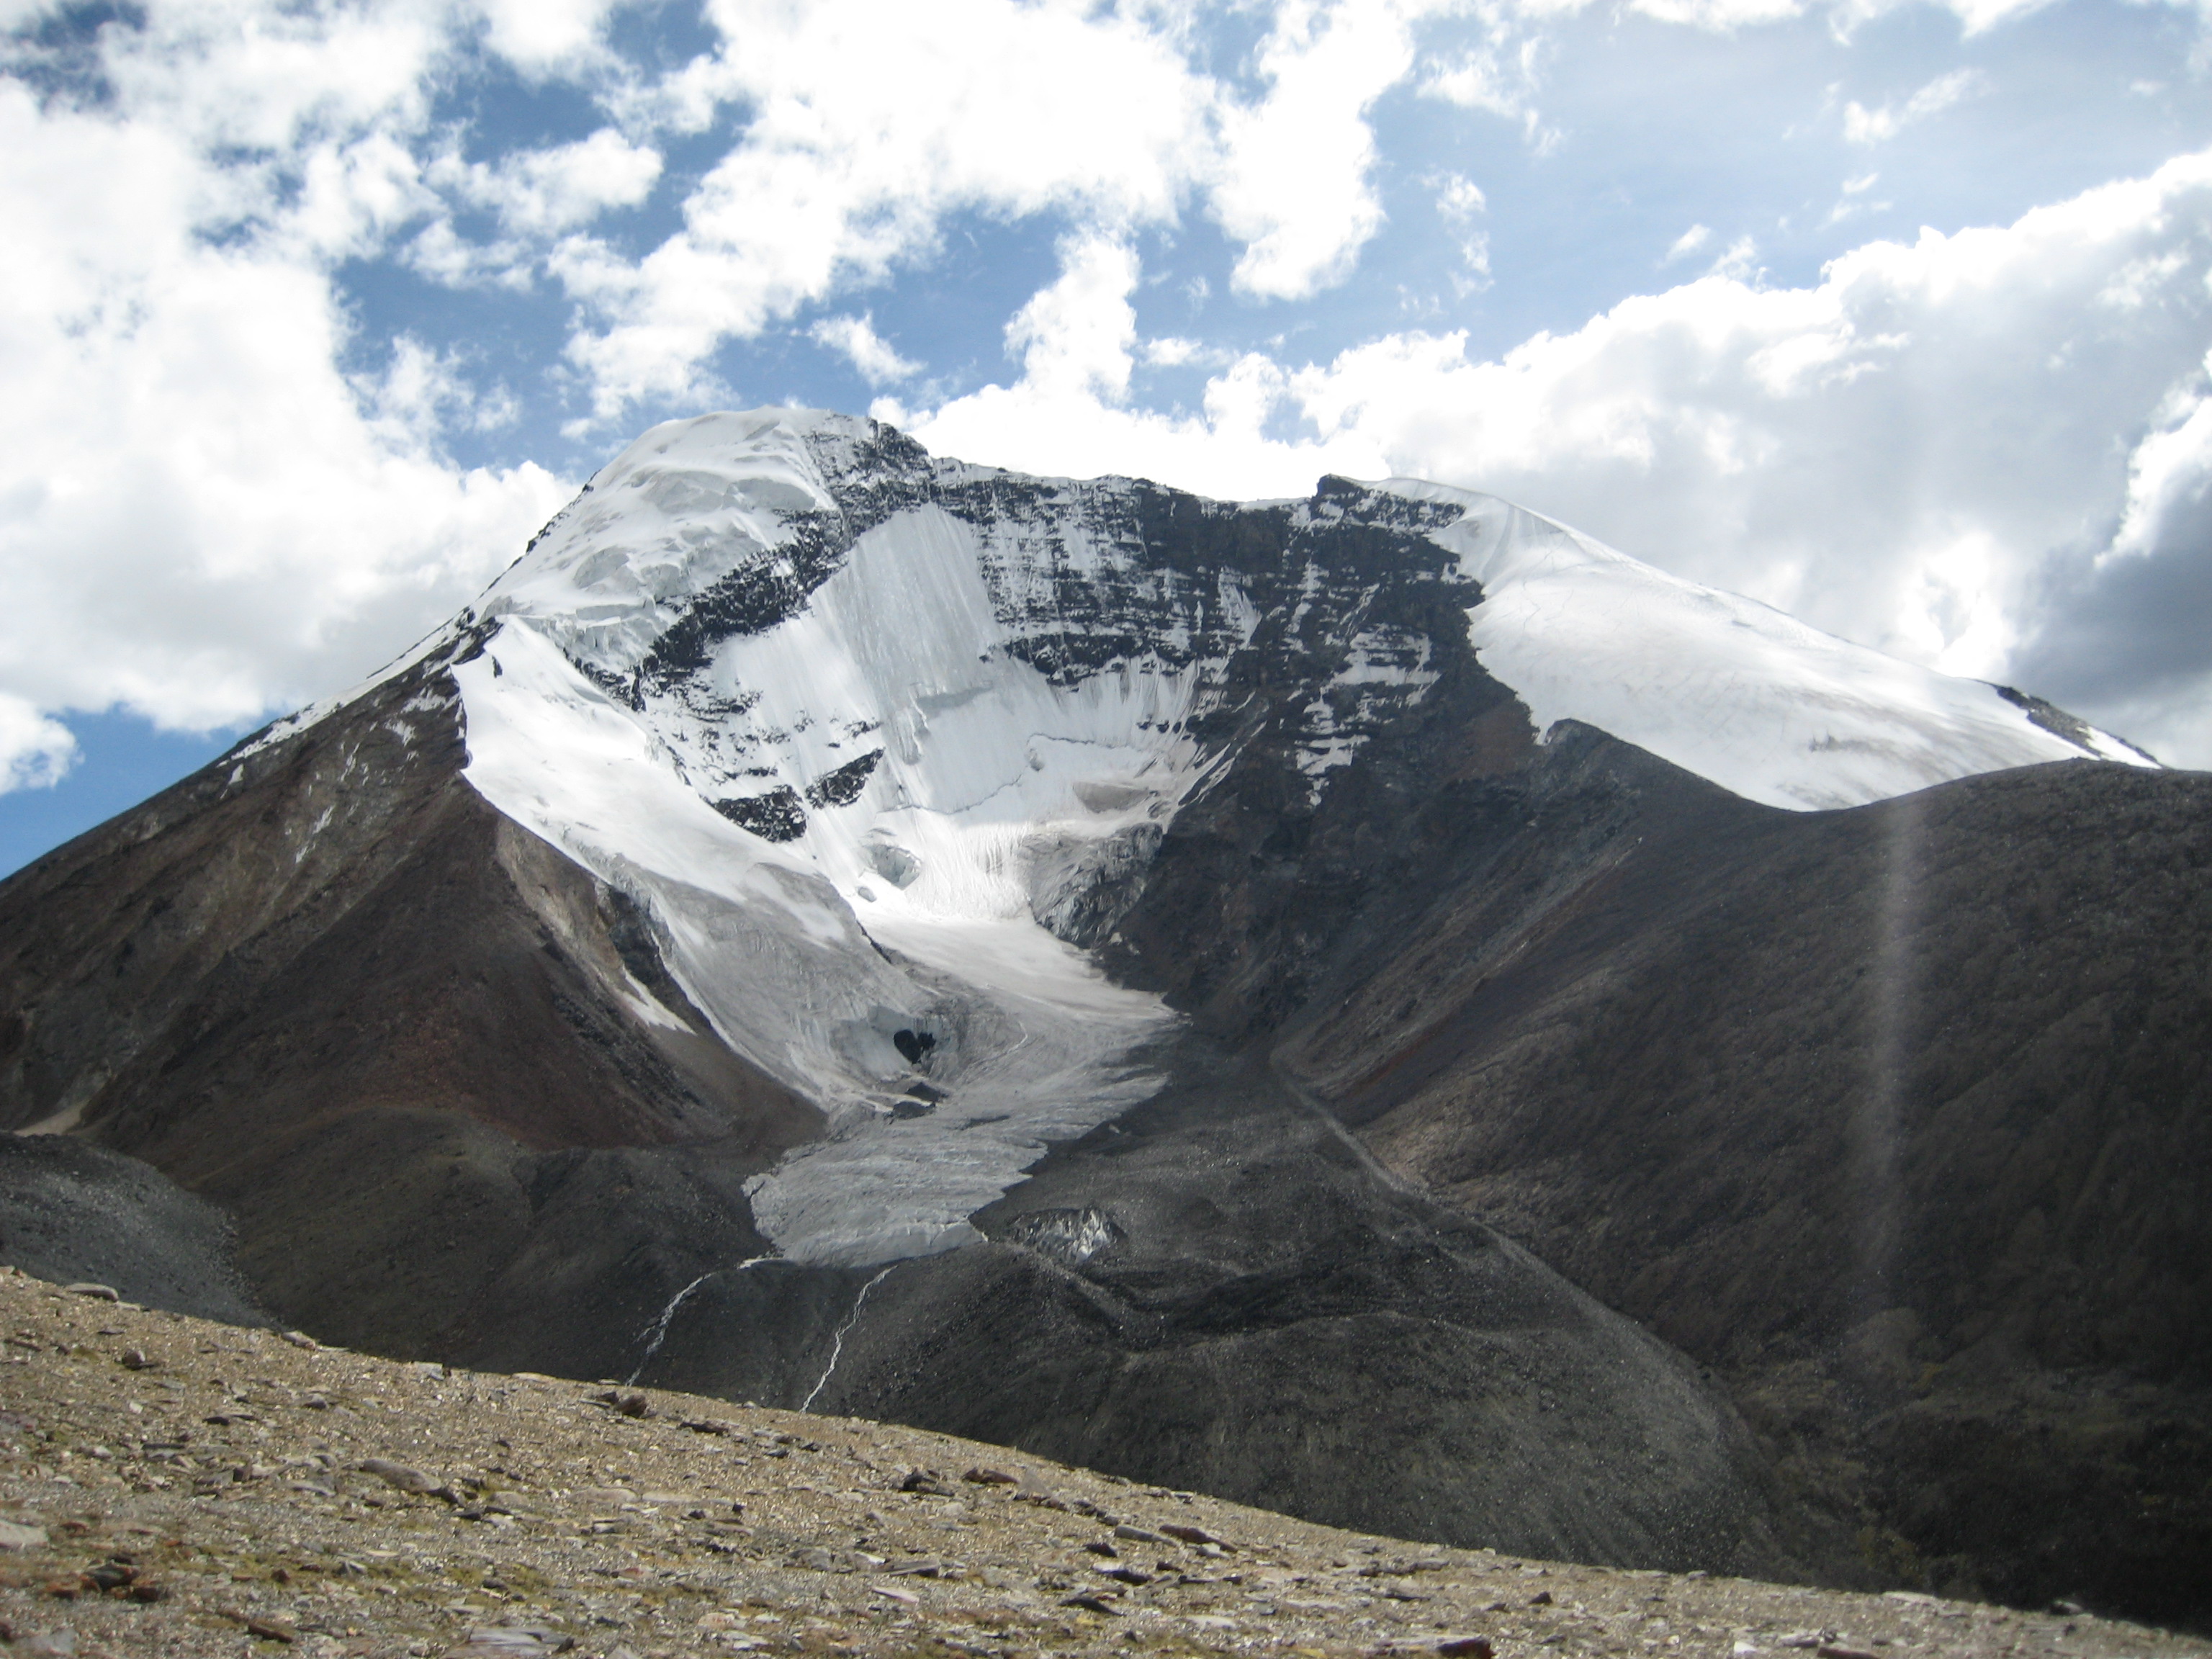
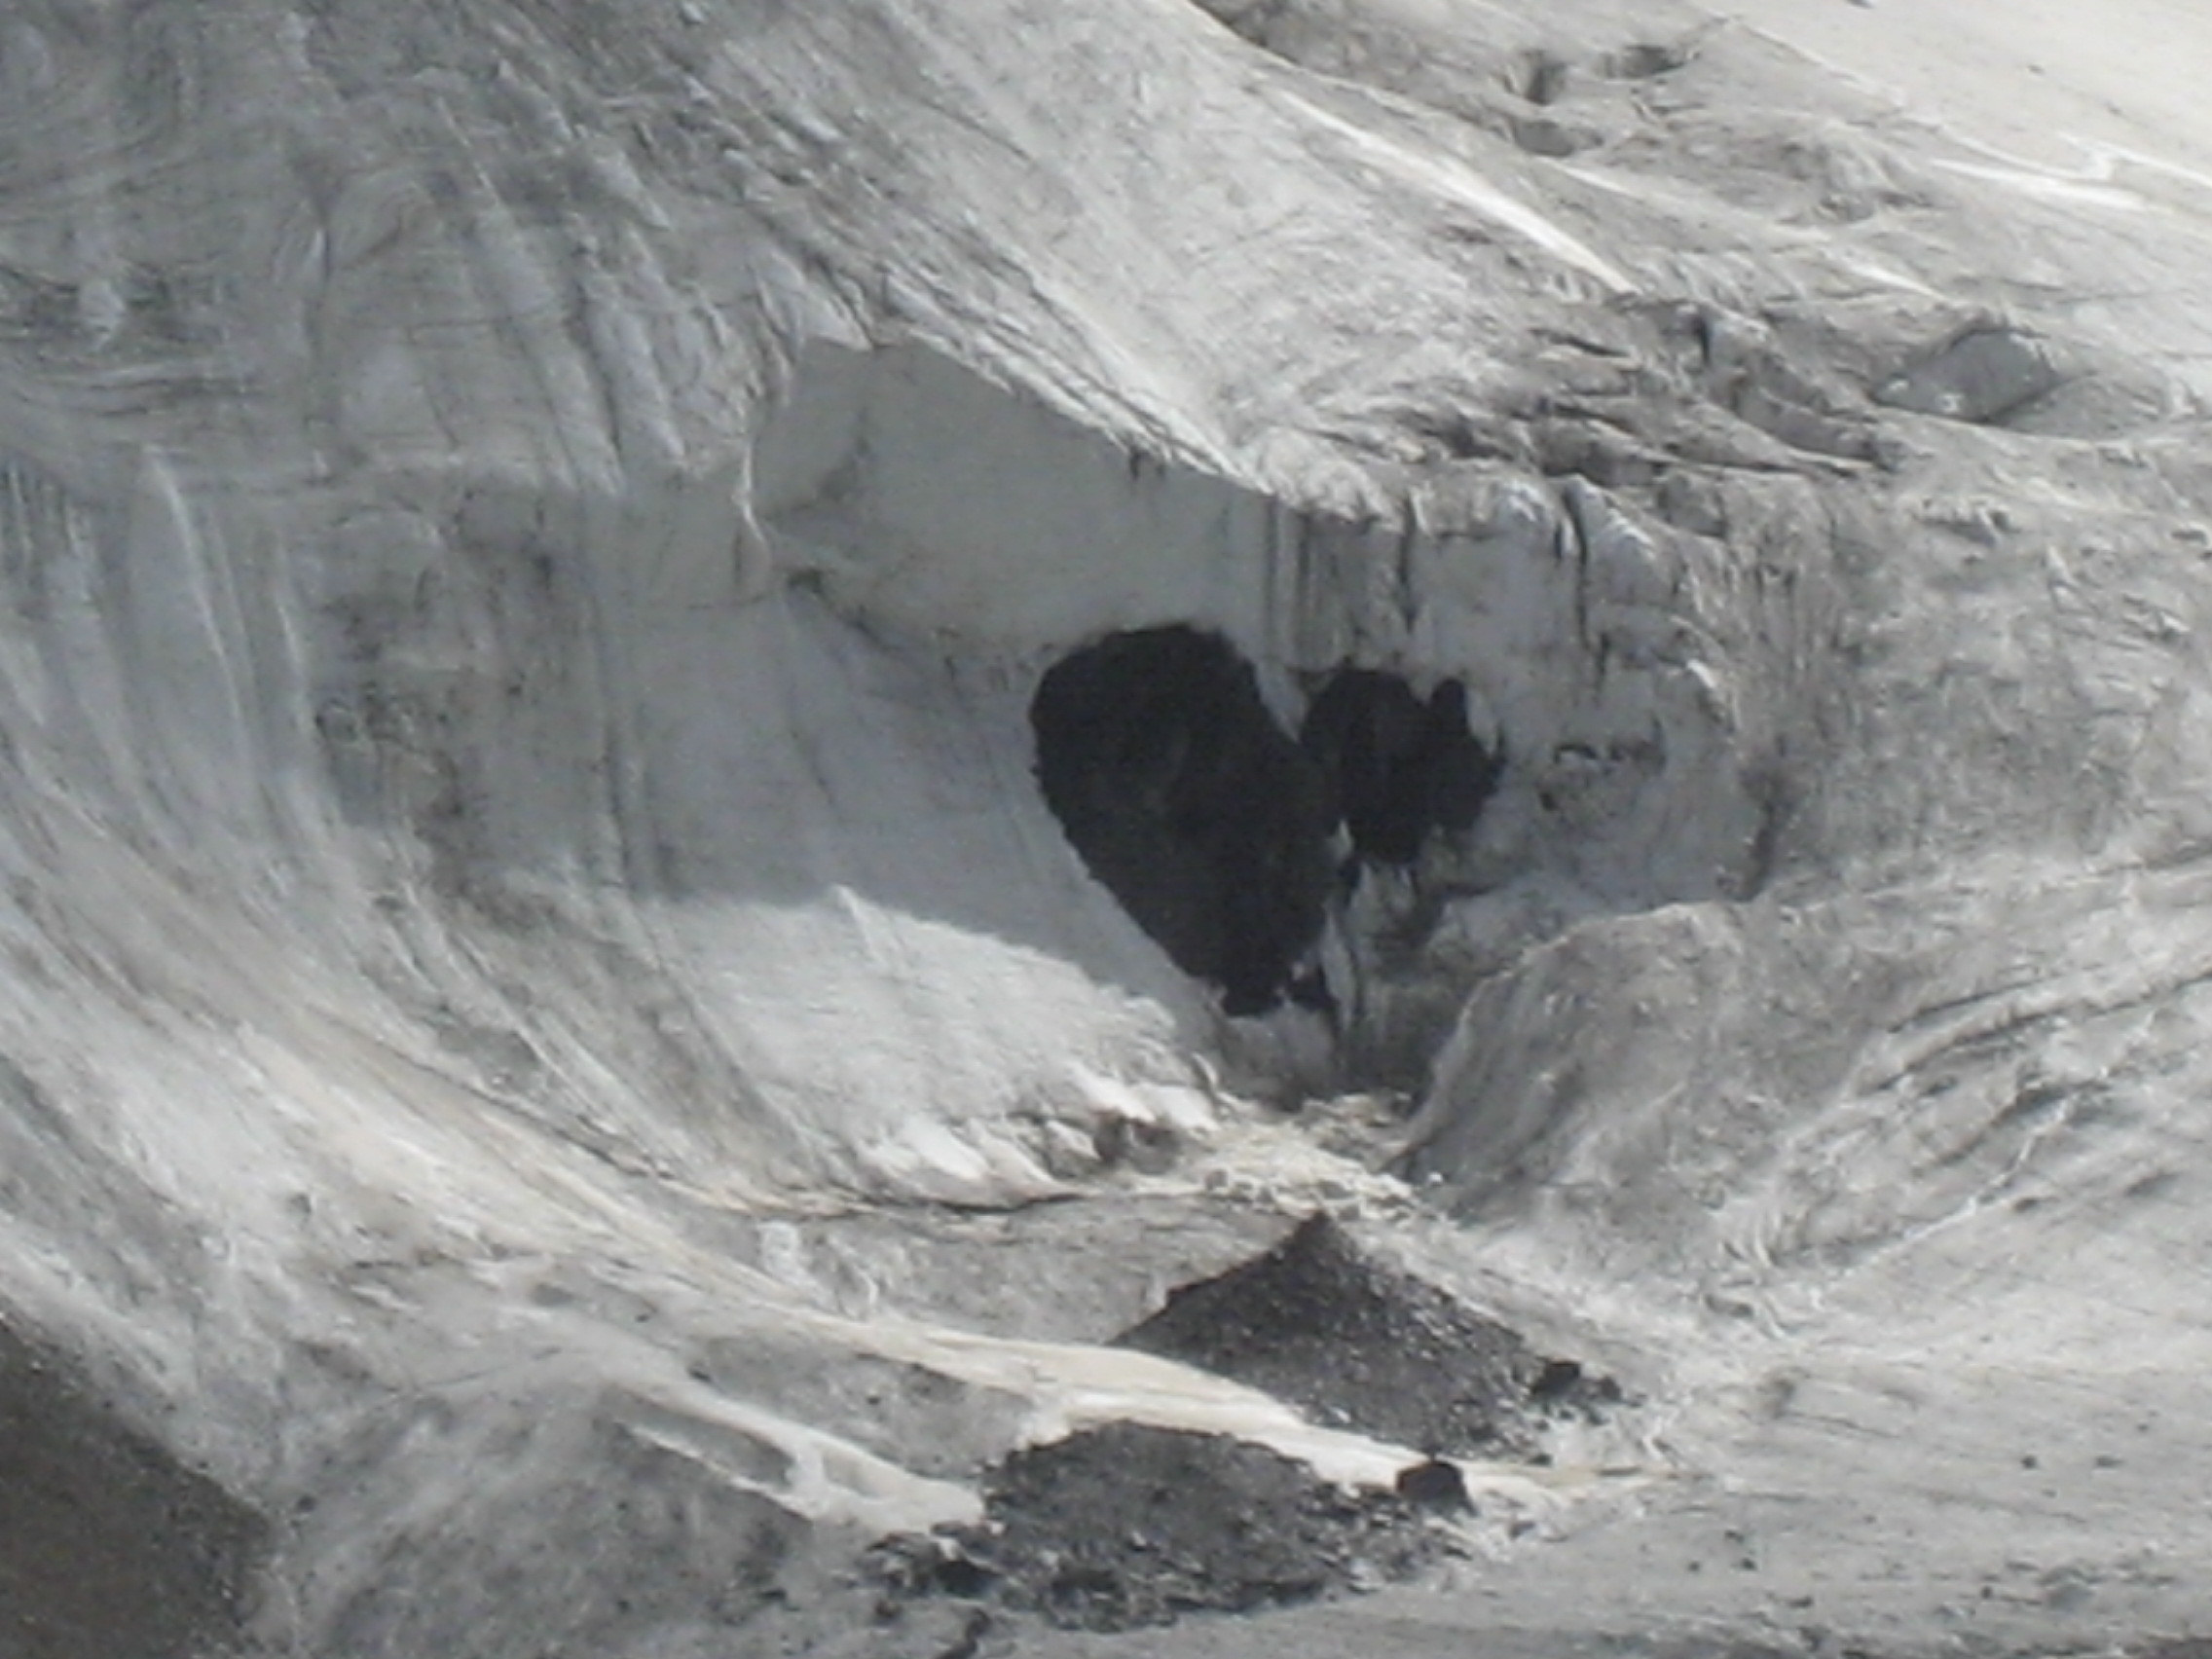 Figure 5. Mountain and close up of start ice wall. (Pictures made by Hein Duijnstee)
 Figure 6. Upper part of Kang Yatze I. (Picture made by Hein Duijnstee)